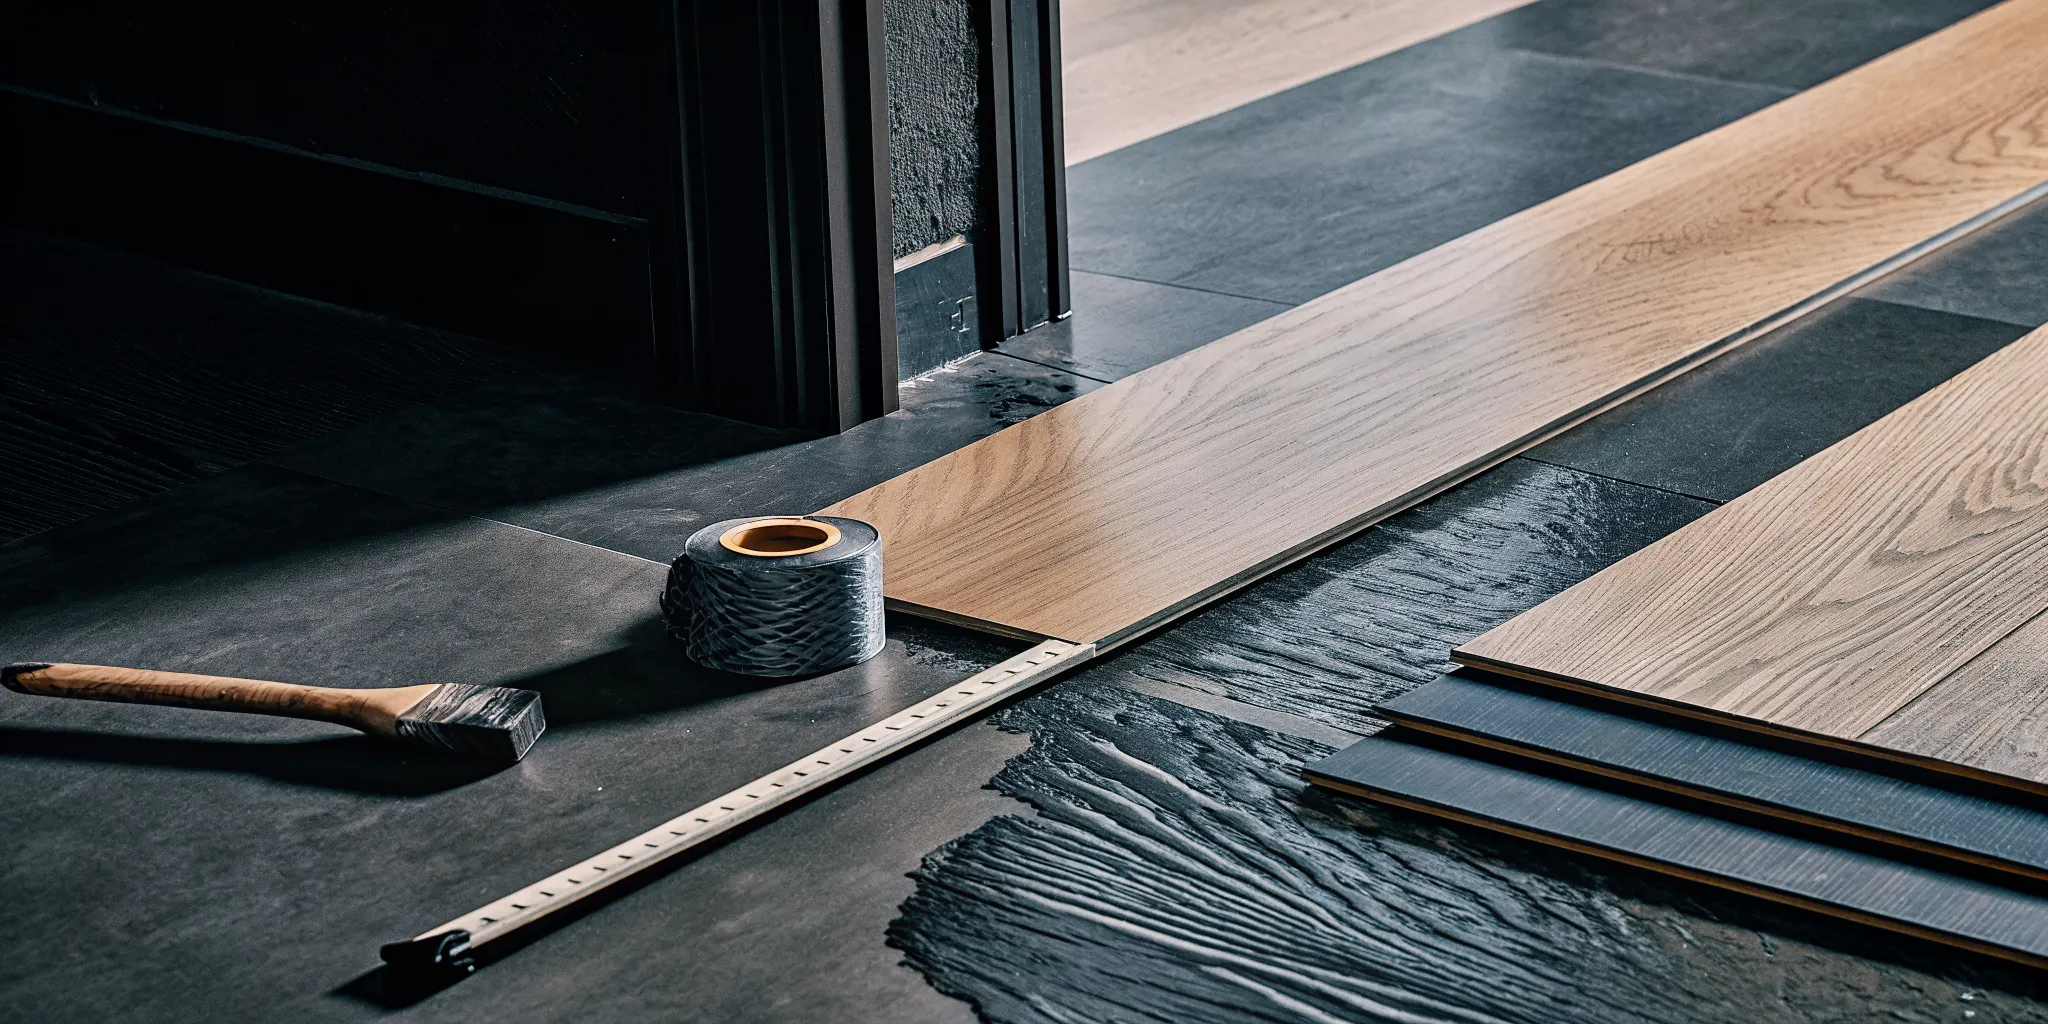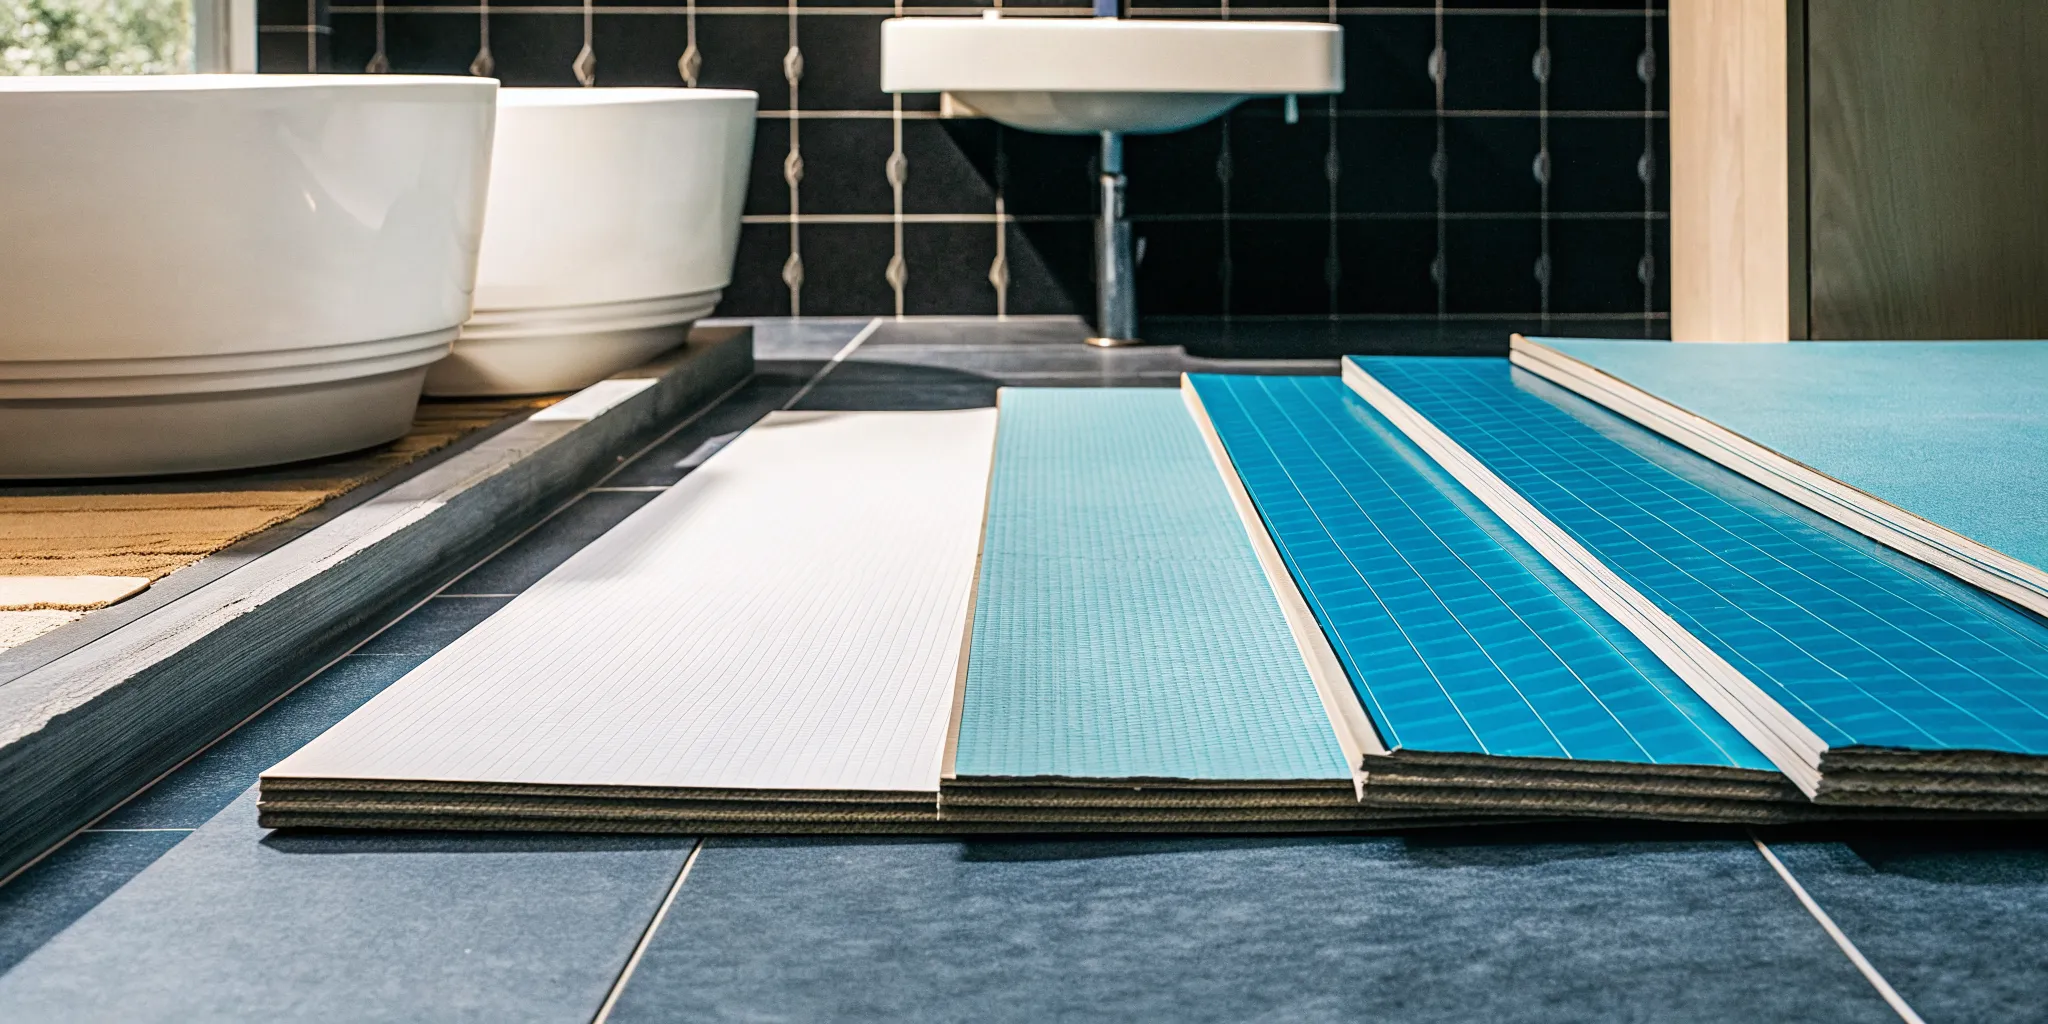
You shouldn’t have to sacrifice style for durability, especially in a personal space like your bathroom. Many homeowners love the warm, inviting look of hardwood but know it’s a risky choice in a room with so much moisture. That’s where modern flooring technology changes the game completely. You can finally get that beautiful wood-grain or natural stone look without any of the stress. We’ll walk you through how 100 waterproof vinyl plank flooring for bathroom installations makes this possible, combining sophisticated design with unbeatable performance. It’s the perfect solution for creating a space that is both beautiful and built for real life.
Key Takeaways
- Look for a waterproof core, not just a waterproof surface: A vinyl plank is only 100% waterproof if it has a solid polymer core, like SPC or WPC. This is what stops the plank itself from swelling or warping, providing much more protection than a simple water-resistant floor.
- A quality installation creates a complete moisture barrier: The best waterproof planks can fail if the subfloor isn’t prepared correctly or if edges aren’t sealed. Professional installation ensures every detail is handled, preventing water from getting trapped underneath your floor.
- Enjoy practical luxury without the difficult upkeep: You can get the beautiful look of wood or stone with benefits perfect for a bathroom. Vinyl plank is warmer underfoot than tile, easier to clean without scrubbing grout, and offers textured surfaces for better slip resistance.
What Makes Vinyl Plank Flooring 100% Waterproof?
When you see “100% waterproof” on a flooring label, it’s not just marketing fluff. This claim comes down to the science of how the planks are made, from their core materials to their surface layers. Understanding what makes a vinyl plank truly waterproof helps you choose a floor that can handle everything a bathroom throws at it, from daily steam to accidental overflows. It’s all about the construction, and knowing the difference ensures you get a floor that lasts.
Waterproof Vs. Water-Resistant: What’s The Real Difference?
It’s easy to see these terms and think they mean the same thing, but in the world of flooring, the difference is huge. A “water-resistant” floor can handle small spills if you wipe them up right away. Think of a few drops from the sink or wet footprints after a shower. However, it won’t stand up to standing water. “Waterproof,” on the other hand, means the planks themselves won’t swell, buckle, or degrade, even if they’re submerged. For a bathroom, where moisture is constant, you need a genuinely waterproof material to protect your investment and the subfloor underneath.
A Look Inside: SPC And WPC Core Technology
The secret to truly waterproof vinyl lies in its core. To be 100% waterproof, the plank must have either an SPC or WPC core. SPC stands for Stone Plastic Composite, a core made from a mix of limestone powder and plastic. This makes the planks incredibly dense, rigid, and stable. WPC, or Wood Plastic Composite, uses recycled wood pulp and plastic, creating a floor that’s a bit lighter, softer, and warmer underfoot. Both options are completely impervious to water. Unlike wood or laminate, these composite cores won’t absorb moisture, which is why luxury vinyl plank is such a reliable choice for bathrooms and kitchens.
The Final Defense: Wear Layers And Sealed Edges
While the core stops the planks from getting damaged, the overall construction creates a protective shield for your subfloor. Waterproof vinyl flooring is built in layers. At the very top is a transparent wear layer that guards against scratches and scuffs from daily life. Below that is the printed design layer that gives the floor its beautiful wood or stone appearance. The waterproof SPC or WPC core is the powerhouse in the middle, and a backing layer provides stability. When installed correctly, these planks lock together tightly, forming a nearly seamless surface that keeps water from seeping through the cracks.
Why Is Waterproof Vinyl Plank Perfect For Bathrooms?
When it comes to bathroom flooring, you need a material that can handle everything from morning shower steam to splashes from the kids’ bath time. For years, tile was the default choice, but waterproof vinyl plank has quickly become a favorite for homeowners in the Dallas-Fort Worth area, and for good reason. It combines the durability you need with the style you want, solving many of the common problems that come with bathroom floors.
It’s not just about being water-resistant; it’s about being completely waterproof. This key difference gives you peace of mind that other flooring options simply can’t offer. Let’s look at exactly why this material is such a smart choice for one of the busiest rooms in your home.
Ultimate Protection Against Spills And Moisture
The biggest challenge in any bathroom is water. A truly waterproof floor is designed so that water cannot penetrate its surface, meaning it can handle standing puddles without swelling, buckling, or getting damaged. This is where 100% waterproof luxury vinyl plank truly shines. Its solid core and protective top layer create a barrier that keeps moisture out. Whether it’s a spilled glass of water or constant humidity, the planks remain stable and secure, protecting your subfloor from potential water damage and mold growth over time.
Effortless Cleaning And Maintenance
Bathrooms should be easy to clean, and your flooring plays a big role in that. Unlike tile, vinyl plank flooring has no grout lines to scrub or seal. Spills, soap scum, and dirt wipe away easily with a simple mop or cloth, keeping your floor looking fresh with minimal effort. This seamless surface makes it much harder for grime and mildew to find a place to settle. For busy families or anyone who prefers a low-maintenance home, the easy upkeep of LVP is a game-changer, giving you a clean and hygienic space without the constant work.
Get The Look You Want, Without The Worry
You shouldn’t have to sacrifice style for function. Waterproof vinyl plank offers an incredible range of designs that realistically mimic high-end materials like solid hardwood, stone, and ceramic tile. You can get the warm, inviting look of oak or the sophisticated feel of marble without worrying about water damage. Unlike real wood, which can warp and crack in a damp environment, LVP is tough enough to handle heavy foot traffic and humidity. This durability ensures your beautiful new floor stays that way for years to come.
A Warmer, More Comfortable Surface
If you’ve ever stepped out of a warm shower onto a cold tile floor, you know how jarring it can be. Vinyl plank flooring, especially options with a WPC (Wood Plastic Composite) core, feels much warmer and softer underfoot. This core construction, made from a blend of recycled wood pulp and plastic, provides a slight cushion that makes standing more comfortable. It’s a small detail that makes a big difference in your daily routine, turning your bathroom into a more comfortable and inviting space from the ground up.
Which Waterproof Vinyl Plank Brands Should You Consider?
With so many flooring brands on the market, picking the right one can feel overwhelming. After installing countless floors in homes across the Dallas-Fort Worth area, we’ve learned which brands consistently deliver on their promises. Our recommendations aren’t based on showroom samples; they’re based on how these floors perform year after year in real, busy households.
We look for brands that offer a solid combination of durability, style, and reliable waterproof technology. The right brand will not only look beautiful on day one but will also stand up to daily life, from bathroom humidity to accidental spills. Below, we’ve broken down our top picks into a few categories to help you find the perfect fit for your home and goals. Think of this as your expert-approved shortlist to simplify the selection process.
Our Go-To Recommendations For Dallas-Fort Worth Homes
When homeowners ask us for our top recommendations, we point them toward brands with a proven track record. We prefer installing products from companies like COREtec and Shaw because their construction quality is consistent, and their locking systems create tight, secure seams that are essential for a waterproof seal. These brands offer excellent wear layers that resist scratches and scuffs, which is a must for any high-traffic area. More importantly, they stand behind their products, giving you confidence that your investment is protected. We’ve found these floors hold up beautifully in the Dallas-Fort Worth climate and meet the demands of modern family life.
A Look At Premium Selections
If you’re looking for top-of-the-line performance and design, premium brands are worth the investment. These products often feature an SPC (Stone Plastic Composite) or WPC (Wood Plastic Composite) core. This is the key to a truly waterproof floor. Unlike water-resistant products, flooring with special core materials is 100% waterproof through and through. An SPC core, made from a dense blend of limestone powder and plastic, offers incredible stability and impact resistance. This means your floors are less likely to dent or warp over time. Premium selections also tend to have more realistic wood or stone visuals and textures, giving your bathroom a truly high-end look.
High-Quality, Mid-Range Choices
You don’t have to select the most expensive option to get a fantastic waterproof floor. Many brands offer a great balance of quality and accessibility, making them a perfect fit for most bathrooms. These mid-range choices still provide the essential 100% waterproof core and a durable wear layer, giving you peace of mind without stretching your budget. They are especially great for homes with kids or pets since they are incredibly easy to clean and maintain. You can find a wide variety of waterproof vinyl flooring in this category, with plenty of modern styles to match your home’s aesthetic. It’s a practical, reliable choice for any busy household.
Key Features To Look For In Bathroom Vinyl Plank
When you start shopping for bathroom flooring, you’ll quickly realize that not all vinyl planks are the same. While many products are marketed as waterproof, a few specific features separate the good from the great, especially in a high-moisture space like a bathroom. Paying attention to details like thickness, texture, and core construction will ensure you choose a floor that not only looks beautiful but also stands up to daily splashes, steam, and humidity for years to come.
Making a confident choice is about knowing what to look for. We’ll walk through the four most important features to consider so you can select the perfect waterproof vinyl plank for your home. These are the same criteria our team uses when recommending flooring solutions to homeowners across the Dallas-Fort Worth area.
Find The Right Thickness For A Stable Floor
The thickness of a vinyl plank is a key indicator of its durability and stability. Generally, thicker planks feel more solid and substantial underfoot, similar to traditional hardwood or tile. For bathrooms, we recommend looking for planks that are at least 5 mm thick. This provides a rigid, stable base that can handle daily foot traffic and resist denting from dropped items.
A thicker plank also has a more robust core, which contributes to its waterproof properties and overall longevity. While thinner options exist, they can sometimes feel flimsy and may show imperfections from the subfloor. During a free in-home estimate, we can bring different samples so you can feel the difference for yourself and choose a thickness that gives you total peace of mind.
Choose A Texture With Good Slip Resistance
Safety is always a priority in the bathroom, where wet floors are a given. That’s why it’s so important to choose a vinyl plank with a textured surface that offers good slip resistance. Look for options with an embossed finish that mimics the grain of real wood or the subtle grooves of natural stone. This texture isn’t just for aesthetics; it provides crucial grip underfoot, helping to prevent slips and falls.
Fortunately, you don’t have to sacrifice style for safety. Modern luxury vinyl plank flooring comes in countless designs with realistic textures that enhance both the look and function of your floor. You can get the beautiful appearance of hardwood without worrying about water damage or slick surfaces.
Insist On Sealed Edges And Strong Moisture Barriers
A truly waterproof floor depends on more than just its surface. The plank’s core construction and the way the planks lock together are what create an impenetrable barrier against moisture. For bathrooms, always choose vinyl with a Stone Plastic Composite (SPC) or Wood Plastic Composite (WPC) core. These materials are inherently waterproof and will not swell, buckle, or warp when exposed to water.
Equally important is the locking system. The edges of each plank should be precisely milled to click together tightly, forming a seal that prevents water from seeping into the seams and reaching your subfloor. This is where the quality of the product and the expertise of the installation team make all the difference.
Understand The Warranty And What It Covers
Before you finalize your decision, take a moment to read the manufacturer’s warranty. The term “waterproof” can mean different things to different brands, and the warranty documents will clarify exactly what is covered. Most warranties protect against topical spills and moisture from normal use, but they may not cover more serious issues like flooding from a burst pipe.
Understanding the warranty also protects your investment. Many manufacturers require the flooring to be installed according to their specific guidelines for the warranty to be valid. This often includes proper subfloor preparation and acclimation. Opting for professional installation ensures these conditions are met, giving you full access to the warranty’s protection should you ever need it.
Getting The Installation Right
Choosing a 100% waterproof vinyl plank is the first step, but a flawless installation is what truly protects your bathroom from moisture damage. While many products are marketed as DIY-friendly, a bathroom presents unique challenges that require precision and expertise. Think about it: you have toilets, vanities, and tubs to work around, not to mention constant exposure to water and steam. From preparing the subfloor to sealing every edge, each detail matters in creating a floor that’s built to last. Getting these steps right ensures your investment is protected and your new floor performs exactly as it should for years to come.
A professional installation handles all the critical details that are easy to overlook. For homeowners in the Dallas-Fort Worth area, this means accounting for our specific climate and ensuring the job is done correctly from the foundation up. It’s about more than just laying down planks; it’s about creating a complete, sealed system that can handle everything a busy bathroom endures. When done correctly, your waterproof vinyl plank floor becomes a worry-free surface that looks beautiful and stands up to daily life. This section will walk you through the key installation steps that make all the difference.
Why Subfloor Prep Is Non-Negotiable
You can’t build a great floor on a bad foundation. Before a single plank is laid, the subfloor underneath must be clean, dry, and perfectly level. Even though the vinyl itself is waterproof, the subfloor is not. Any lingering moisture, damage, or unevenness can trap water, leading to mold, mildew, and an unstable floor over time. A professional installer will properly assess and prepare your subfloor, grinding down high spots, filling in low spots, and making sure it’s a perfect canvas for your new flooring. This step is absolutely essential for a long-lasting, durable result.
The Importance Of Acclimation
Vinyl plank flooring needs time to adjust to its new environment before it’s installed. This process, called acclimation, involves letting the planks sit in the room for at least 48 hours. This allows the material to expand or contract according to your home’s specific temperature and humidity levels. Skipping this step can cause the planks to buckle, warp, or separate after installation, creating unsightly gaps. In a humid space like a bathroom, proper acclimation is even more critical to ensure the planks fit together tightly and remain stable through changing seasons.
How To Properly Seal Around Toilets And Tubs
A truly waterproof floor system leaves no path for water to get underneath. In a bathroom, the most vulnerable areas are around the edges of the room and where the floor meets fixtures like the toilet, tub, and vanity. A professional installer will carefully cut planks to fit perfectly around these obstacles and then apply a flexible, 100% silicone caulk to seal every edge. This creates a watertight barrier that stops splashes and spills from seeping under the floorboards, which is the key to preventing hidden water damage and mold growth.
The Benefits Of Professional Installation
While many vinyl plank products feature a “click-together” design, a bathroom installation is rarely that simple. The space is often tight, with tricky cuts required around pipes, toilets, and vanities. Ensuring the subfloor is perfectly prepped and every seam is sealed requires experience and the right tools. A professional flooring installation guarantees that every step, from acclimation to the final seal, is handled correctly. This not only gives you a beautiful, durable floor but also provides peace of mind, knowing the job was done right the first time.
Common (and Costly) Installation Mistakes To Avoid
Choosing 100% waterproof vinyl plank is a fantastic first step, but the real secret to a long-lasting bathroom floor lies in the installation. Even the highest quality material can fail if it isn’t put down correctly. A small mistake during installation can lead to big headaches later, trapping moisture and causing damage you can’t see until it’s too late. Let’s walk through some of the most common and costly errors we see so you can make sure your project is done right from the start.
Neglecting The Subfloor
It’s easy to focus on the beautiful new planks, but what’s underneath is just as important. Your subfloor must be completely clean, level, and dry before the first plank is laid. Even though the vinyl itself is waterproof, any existing moisture or damage in the subfloor can lead to mold, mildew, and structural problems down the road. A professional installer will always prepare the subfloor by checking for moisture, leveling uneven spots, and ensuring it’s a perfect foundation for your new flooring. This step is absolutely non-negotiable for a floor that will last for years.
Forgetting The Moisture Barrier
If your bathroom is on a concrete slab, which is common in many Dallas-Fort Worth homes, a moisture barrier is essential. Concrete is porous and can allow water vapor to travel up from the ground, even if you can’t see it. This unseen moisture can get trapped under your flooring, creating a perfect environment for mildew and eventually damaging the planks from below. While the vinyl planks are waterproof, protecting them from constant vapor pressure is key to their longevity. An appropriate underlayment with a vapor barrier is a simple but critical layer of defense.
Improperly Sealing Edges And Fixtures
A waterproof floor is only as good as its weakest point. The real test is how it handles water around the perimeter and fixtures. Water loves to find its way into tiny gaps, so it’s crucial to seal the edges of the flooring along the walls, tub, shower, and toilet. Using a 100% silicone caulk creates a watertight seal that prevents splashes and spills from seeping underneath the planks. This meticulous finishing touch is what separates a standard installation from a truly professional one, ensuring your bathroom is protected from every angle and giving you complete peace of mind.
Using A “Water-Resistant” Product Instead Of Waterproof
The terms “water-resistant” and “waterproof” are often used interchangeably, but they mean very different things. Water-resistant flooring can handle a small spill if you wipe it up quickly, but it can’t stand up to standing water or the constant humidity of a bathroom. True 100% waterproof vinyl plank is designed so water can sit on its surface for extended periods without causing any damage to the core. Always double-check the product specifications to ensure you’re getting a genuinely waterproof floor. Choosing the wrong material is one of the easiest and most expensive mistakes to make in a bathroom renovation.
Keep Your Bathroom Floors Looking Brand New
One of the best things about waterproof vinyl plank is how simple it is to maintain. You get the beautiful look of wood or stone without the demanding upkeep. With just a little routine care, your new bathroom floors will stay in top condition for years. It’s all about using the right tools and techniques and knowing what to avoid. A consistent, gentle approach is all it takes to protect your investment and keep your bathroom looking fresh and clean.
Your Simple Cleaning Routine
Keeping your vinyl plank floors clean is refreshingly straightforward. For daily upkeep, a quick sweep with a soft-bristle broom or a pass with a vacuum (just make sure the beater bar is turned off) is enough to handle dust and hair. For a deeper clean, mopping with a pH-neutral floor cleaner and a microfiber mop works wonders. Vinyl plank flooring is incredibly tough and designed to handle a lot of foot traffic, so it won’t warp or crack in a humid bathroom environment. Just stick to this simple routine, and your floors will continue to perform beautifully without any fuss.
The Right Way To Handle Spills
Puddles from the shower and splashes from the sink are no match for waterproof vinyl plank. Because the surface and core materials are designed to be impermeable, the flooring can handle standing water without swelling, buckling, or getting damaged. While you don’t have to panic if water sits for a little while, it’s always a good habit to wipe up spills and puddles with a dry cloth or towel. This prevents slip hazards and keeps moisture from being tracked into other areas of your home. It’s this simple step that helps maintain a clean and safe environment for everyone.
How To Prevent Mold And Mildew
While your vinyl planks are 100% waterproof, the key to preventing mold and mildew lies underneath. A successful installation starts with ensuring the subfloor is completely dry and properly prepared. Any moisture trapped below can cause issues down the road, which is why professional subfloor preparation is so important. After installation, you can help by running your bathroom’s exhaust fan during and after showers to reduce humidity. Wiping down any standing water on the floor also helps keep the entire room dry. These small habits, combined with a quality installation, create a defense against mold and mildew growth.
Cleaning Products You Should Never Use
To protect the finish and integrity of your vinyl plank, there are a few things you should always avoid. Never use abrasive cleaners, scouring pads, or harsh chemicals like ammonia or bleach, as they can dull or strip the floor’s protective wear layer. It’s also important to avoid certain cleaning tools, including steam mops and vacuums with a spinning beater bar, which can cause scratches or damage the planks. You should also skip any wax or solvent-based polishes. Sticking to a simple pH-neutral cleaner is the safest and most effective way to keep your floors looking their best without causing unintended harm.
How Does Waterproof Vinyl Plank Stack Up?
Choosing the right flooring for a bathroom means weighing your options carefully. While traditional materials have their place, it’s helpful to see how 100% waterproof vinyl plank compares to other popular choices. Understanding the key differences in performance, maintenance, and feel will help you decide which material truly fits your home and lifestyle. Let’s look at how vinyl plank holds up against tile, laminate, and natural stone in the most demanding room of the house.
Vinyl Plank Vs. Ceramic Tile
Ceramic tile has long been the standard for bathrooms, but waterproof vinyl plank offers some compelling advantages. While both handle water well, vinyl is much warmer and softer underfoot, which makes a big difference on chilly mornings. It’s also incredibly durable and can handle a lot of foot traffic without the risk of cracking or chipping, which can happen with tile. Plus, you won’t have to worry about scrubbing grout lines to keep them clean. With luxury vinyl plank, you get a strong, low-maintenance floor that stands up to the daily demands of a busy bathroom.
Vinyl Plank Vs. Laminate Flooring
This is where things can get confusing. Many laminate products are marketed as “water-resistant,” but they aren’t the same as waterproof vinyl. The core of laminate flooring is typically made from a wood-based fiberboard. If water finds its way into the seams, that core can swell and warp, causing permanent damage. In contrast, waterproof vinyl flooring has a solid polymer core that is completely impervious to moisture. For a bathroom, where splashes, steam, and humidity are constant, choosing a truly waterproof material like vinyl plank provides peace of mind that laminate simply can’t match.
Vinyl Plank Vs. Natural Stone
Natural stone like marble or travertine brings a beautiful, high-end look to a bathroom, but it comes with a lot of upkeep. Stone is porous and requires regular sealing to prevent stains and water damage. It can also be cold, hard, and slippery when wet. Waterproof vinyl plank lets you achieve stunning wood or stone looks in moisture-prone areas without any of the worry. You get the same elegant appearance with a surface that’s warmer, more comfortable, and much easier to maintain. It’s a practical way to get a luxurious style that’s built for real life.
Related Articles
- Your Guide to Waterproof Vinyl Flooring Installation
- Luxury Vinyl Plank Installation: A Step-by-Step Guide
- Vinyl (LVP/LVT) Flooring
Frequently Asked Questions
How long will waterproof vinyl plank flooring last in a bathroom? With proper installation and routine care, a quality waterproof vinyl plank floor can easily last for 15 to 25 years, or even longer. Its longevity comes from its multi-layer construction, which is designed to handle moisture, foot traffic, and daily wear. The key is starting with a well-prepared subfloor and choosing a product with a thick wear layer, as this is what protects the beautiful design from scuffs and scratches over time.
Is DIY installation a good idea for a bathroom? While it might seem straightforward, installing flooring in a bathroom has unique challenges. A bathroom is full of tricky cuts around toilets, vanities, and tubs that require precision to get right. More importantly, ensuring every edge is perfectly sealed to create a watertight barrier is a step that professionals are trained to execute flawlessly. A small mistake can lead to hidden moisture damage, so we always recommend professional installation for a result that’s truly worry-free.
Will vinyl plank flooring feel cold or hard like tile? Not at all. One of the biggest benefits of vinyl plank is that it feels significantly warmer and softer underfoot than ceramic or stone tile. This makes a noticeable difference on cool mornings when you step out of the shower. Options with a WPC (Wood Plastic Composite) core are especially known for providing a slight cushion, which makes standing for longer periods much more comfortable.
Does “100% waterproof” mean my subfloor is completely safe from major floods? The “100% waterproof” label means the vinyl planks themselves will not swell, warp, or get damaged when exposed to water. They create a highly effective barrier against everyday spills and moisture. However, this warranty typically does not cover significant events like a burst pipe or appliance failure. In a major flood, water can still get around the edges of the flooring and saturate the subfloor, so it’s important to address those situations quickly.
How does vinyl plank hold up against scratches and dents in a busy bathroom? Modern waterproof vinyl plank is built for real life. The top wear layer is specifically designed to resist scratches from daily foot traffic and scuffs from dropped items like a hairdryer or shampoo bottle. For homes with kids or pets, look for a thicker wear layer (12 mil or higher) for added protection. The dense SPC or WPC core also makes the planks highly resistant to dents, ensuring your floor stays looking great for years.